How to Draw a Easy Cloaked Person
The Grim Reaper is a mythical being that you would not want to meet in real life! This being not only looks super creepy but is also the personification of death, so you would not want to invite him around for pizza.
This bringer of doom is common in various forms throughout many cultures, and in his classic design he is a skeleton in a black cloak with a big scythe.
Despite being someone you wouldn't want to meet he does look really cool, so it can be fun to learn how to draw the Grim Reaper.
By the end of this guide, you will be able to recreate this foreboding figure!
We hope you enjoy working on this step-by-step guide on how to draw the Grim Reaper.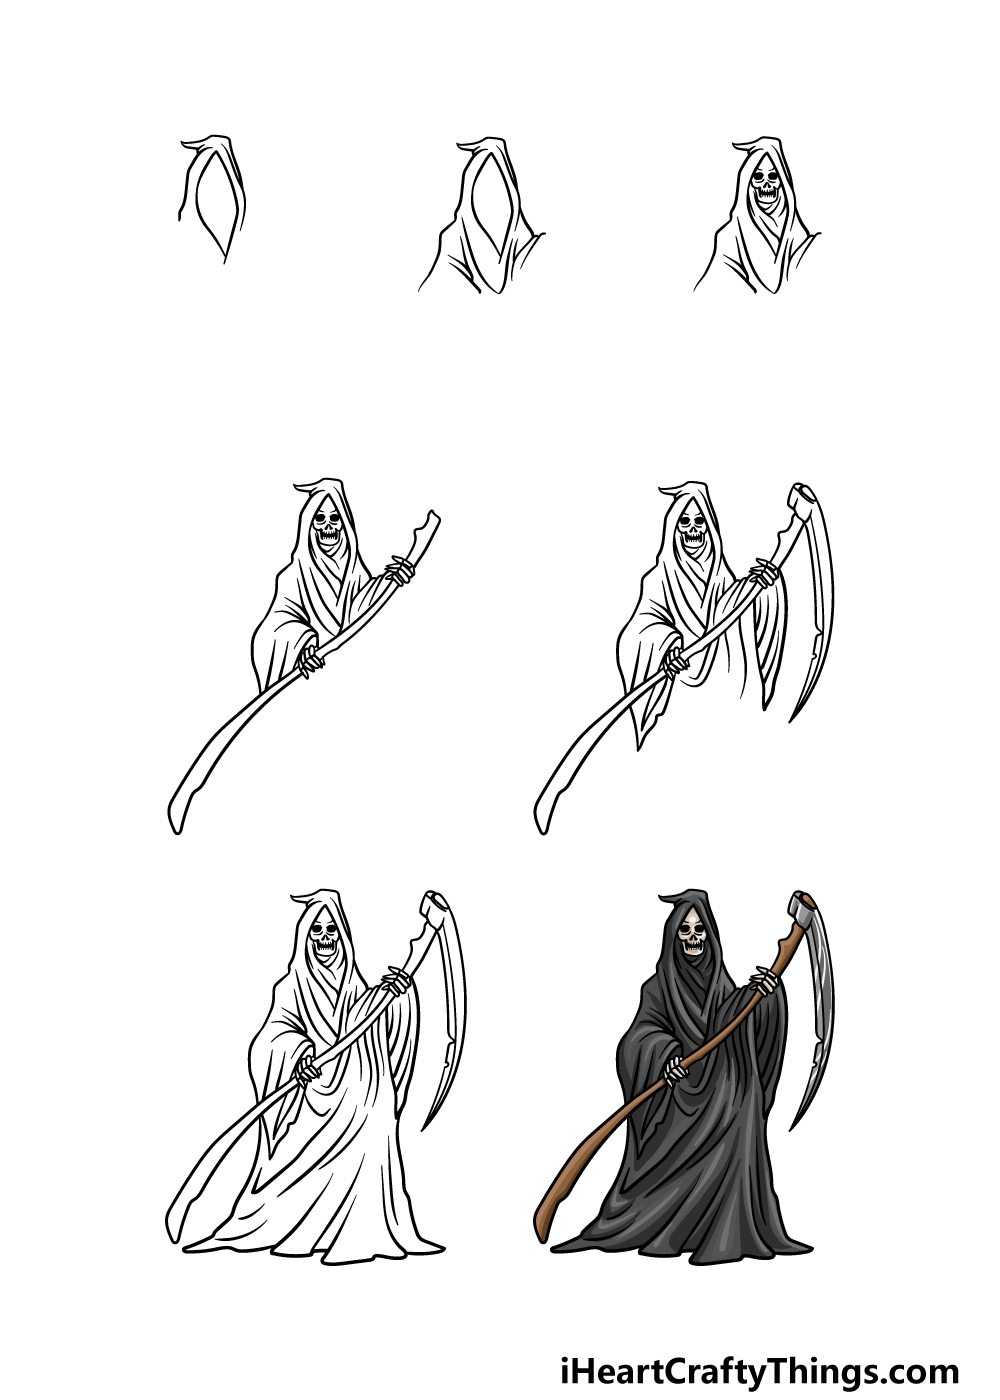
What's in this Blog Post
- How to Draw The Grim Reaper– Let's get Started!
- Step 1
- Step 2 – Now, draw the shoulders of his cloak
- Step 3 – Next draw his skull and inner hood details
- Step 4 – Draw his arms and start his scythe
- Step 5 – Now, draw some more of his sleeves and scythe
- Step 6 – Add the rest of the body in this step
- Step 7 – Finish off your Grim Reaper drawing with some color
- Your Grim Reaper Drawing is Complete!
How to Draw The Grim Reaper– Let's get Started!
Step 1
There will be a lot of details to draw in this guide on how to draw the Grim Reaper, but this first step will be starting things off easily.
We mentioned that one of the distinguishing features of this figure is his big black hood, and that is what we will start with in this first part.
To begin this, draw the opening of his hood using a long and thin diamond shape. Once you have drawn this, then add some curved lines to the side of it and then draw the top drooping over a bit.
That's all there is to it for this step, so let's proceed!
Step 2 – Now, draw the shoulders of his cloak
With his hood drawn, we will now focus on the shoulders of his cloak for this part of your Grim Reaper drawing.
To do this, simply draw some curved lines down from the sides of the hood, and then use some more curved lines on the inner edges.
When drawing any aspect of his cloak, we will be using a lot of these curved lines, as the goal is to make it look very creased.
Step 3 – Next draw his skull and inner hood details
The Grim Reaper is famously a skeleton in a cloak, so we will draw his skull in this step of our guide on how to draw the Grim Reaper.
First, start with some circular black shapes for his eye sockets. Then, use a two-pronged shape for his nose cavity, and then we can start on his mouth.
The mouth will be drawn with another black shape, and this one will be flat and somewhat rectangular with some teeth shapes at the top and bottom.
Then, finish off by drawing more folds of his hood beneath his head before you move on.
Step 4 – Draw his arms and start his scythe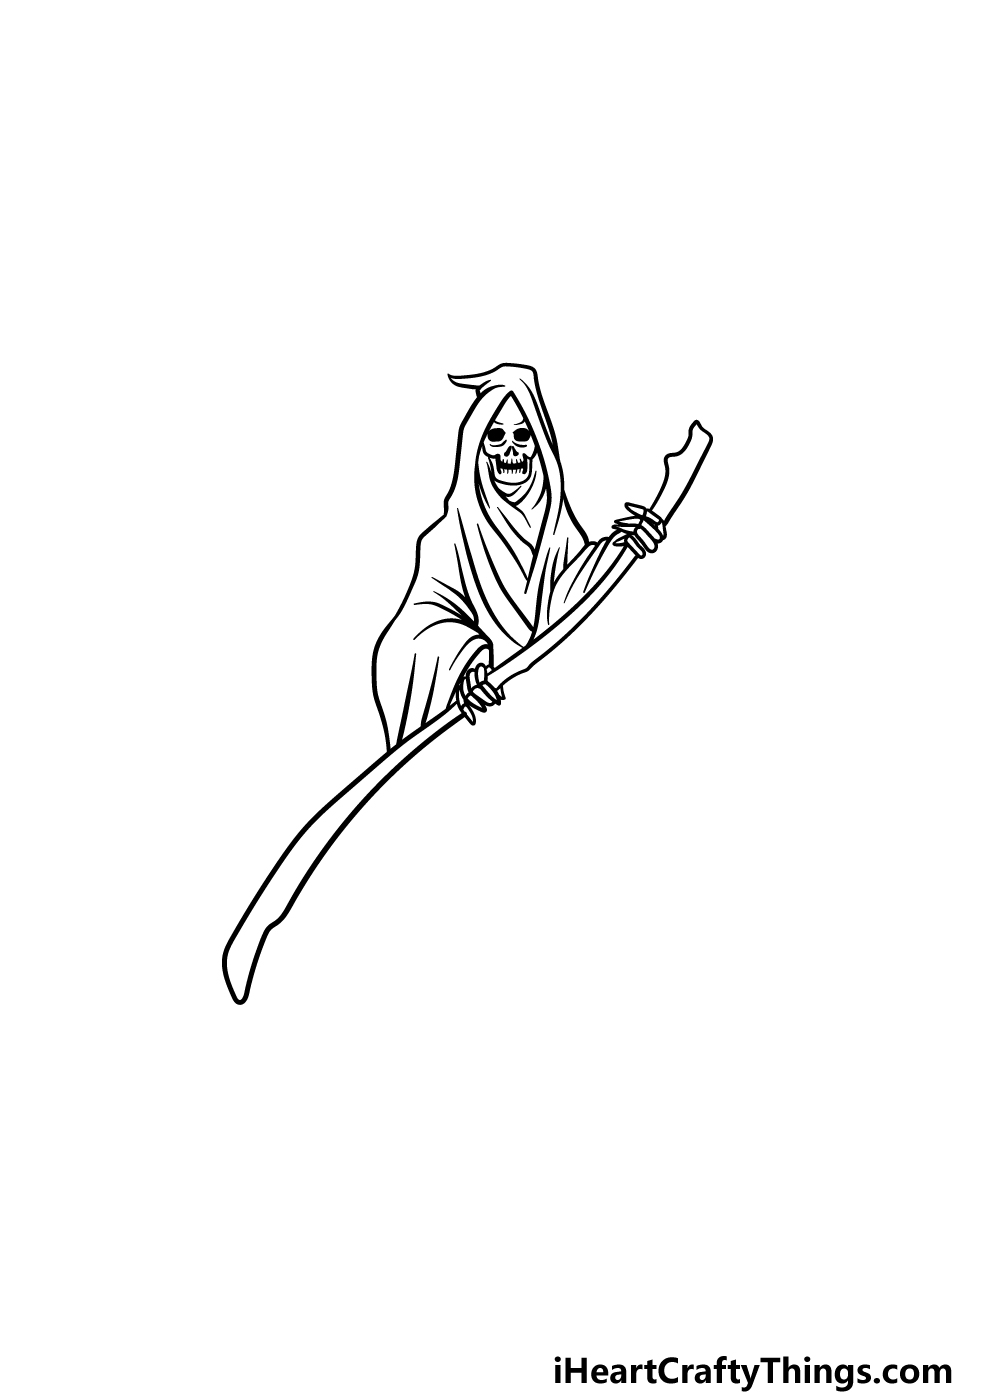
Continuing with your Grim Reaper drawing, we will focus on the arms of his cloak and start with his famous scythe. First, let's draw those sleeves.
As previously mentioned, there will be loads of crease details on his cloak, and his sleeves will be quite long and flowy.
The arm on the right will also be a bit higher up, as both hands will be grasping his scythe. Speaking of that, we will also draw the handle of that now.
The scythe is long with some curved lines, and this will look like it's made of a wavy piece of wood. It will be grasped in his skeleton hands which we will draw now as well.
Then it's on to some more details in step 5.
Step 5 – Now, draw some more of his sleeves and scythe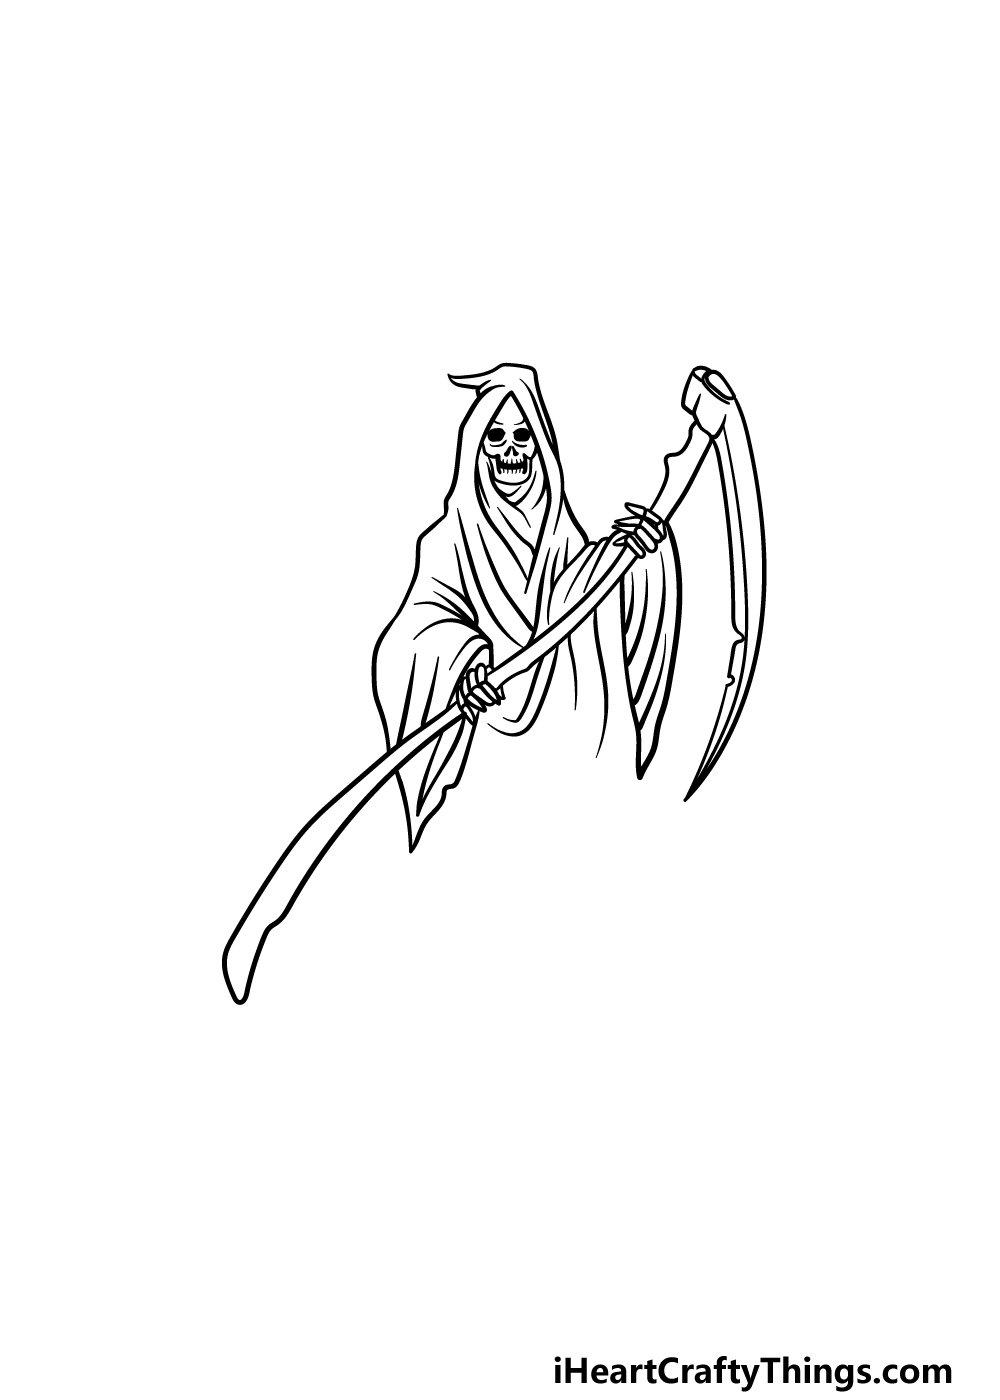
In this step of our guide on how to draw the Grim Reaper, we will be finishing off the bottom of his sleeves along with the blade of his scythe.
We mentioned earlier that his sleeves are long and flowy, and we will be showing that in this step.
Using some curvy lines that end in sharp points at the end, you can finish off the drooping openings of his sleeves.
Then we will be adding the large blade of his scythe. We will be using some more curved lines for this, and the blade will extend quite far down with lots of smaller details to make it look weathered.
Step 6 – Add the rest of the body in this step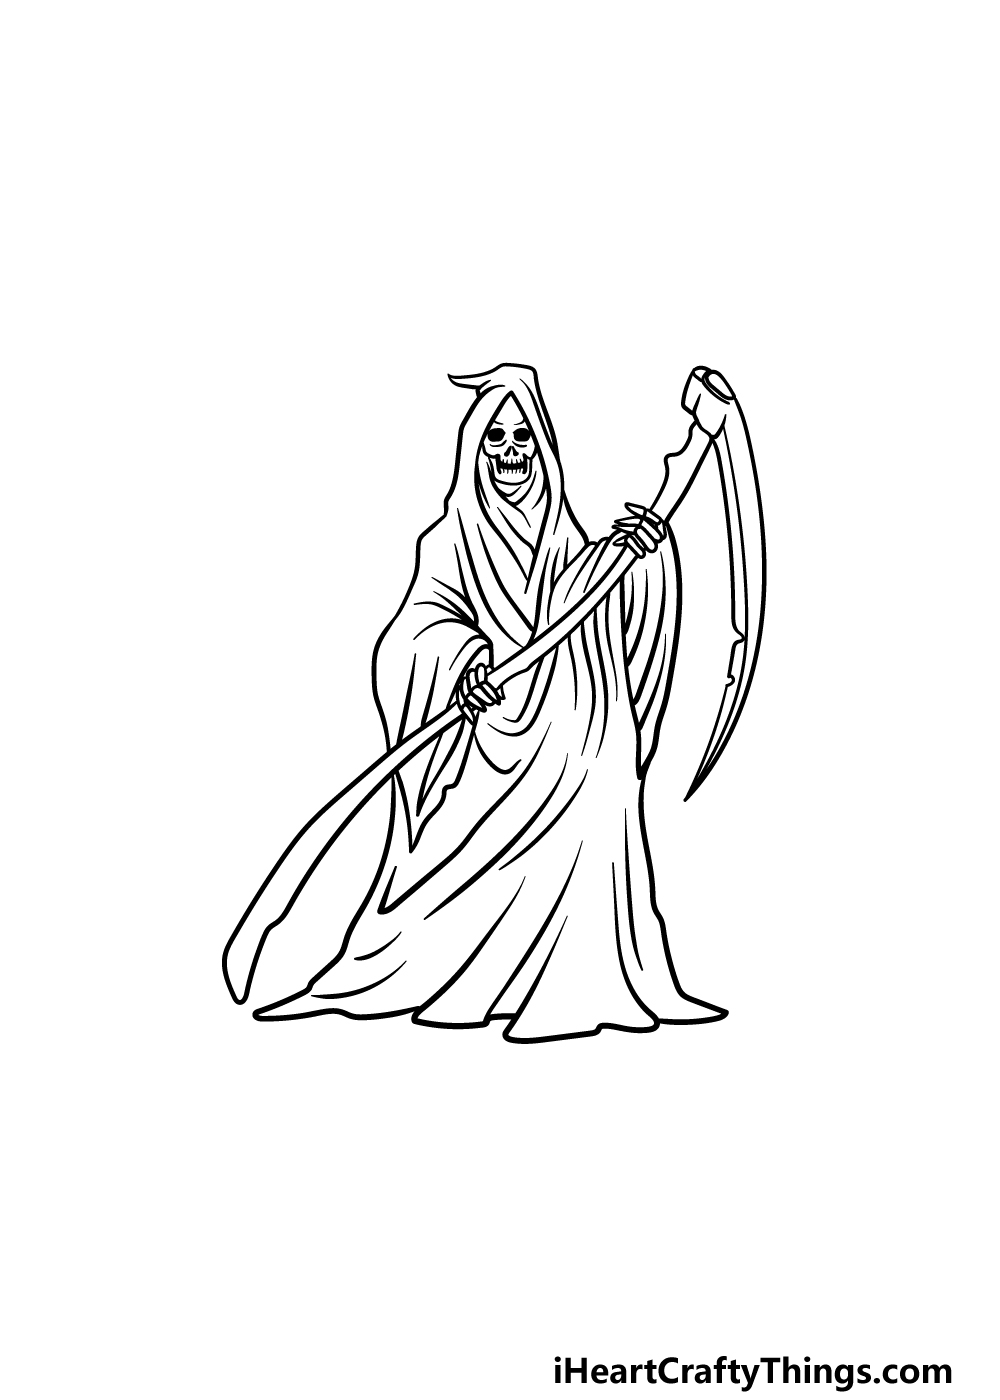
Before you color in your Grim Reaper drawing, we just have one more part to draw. All you need to do is draw the rest of his cloak, and e will start that by drawing some curvy lines going down from his sleeves.
Then we will draw the base by showing the material drooping on the ground, and then will finish off by adding loads of crease details to this section.
Once it looks as it does in our reference image, you're ready for the final step! Be sure to also add any extra details of your own that you may want.
You could draw a background such as a spooky graveyard setting for one idea, but what else can you think of to finish off this drawing?
Step 7 – Finish off your Grim Reaper drawing with some color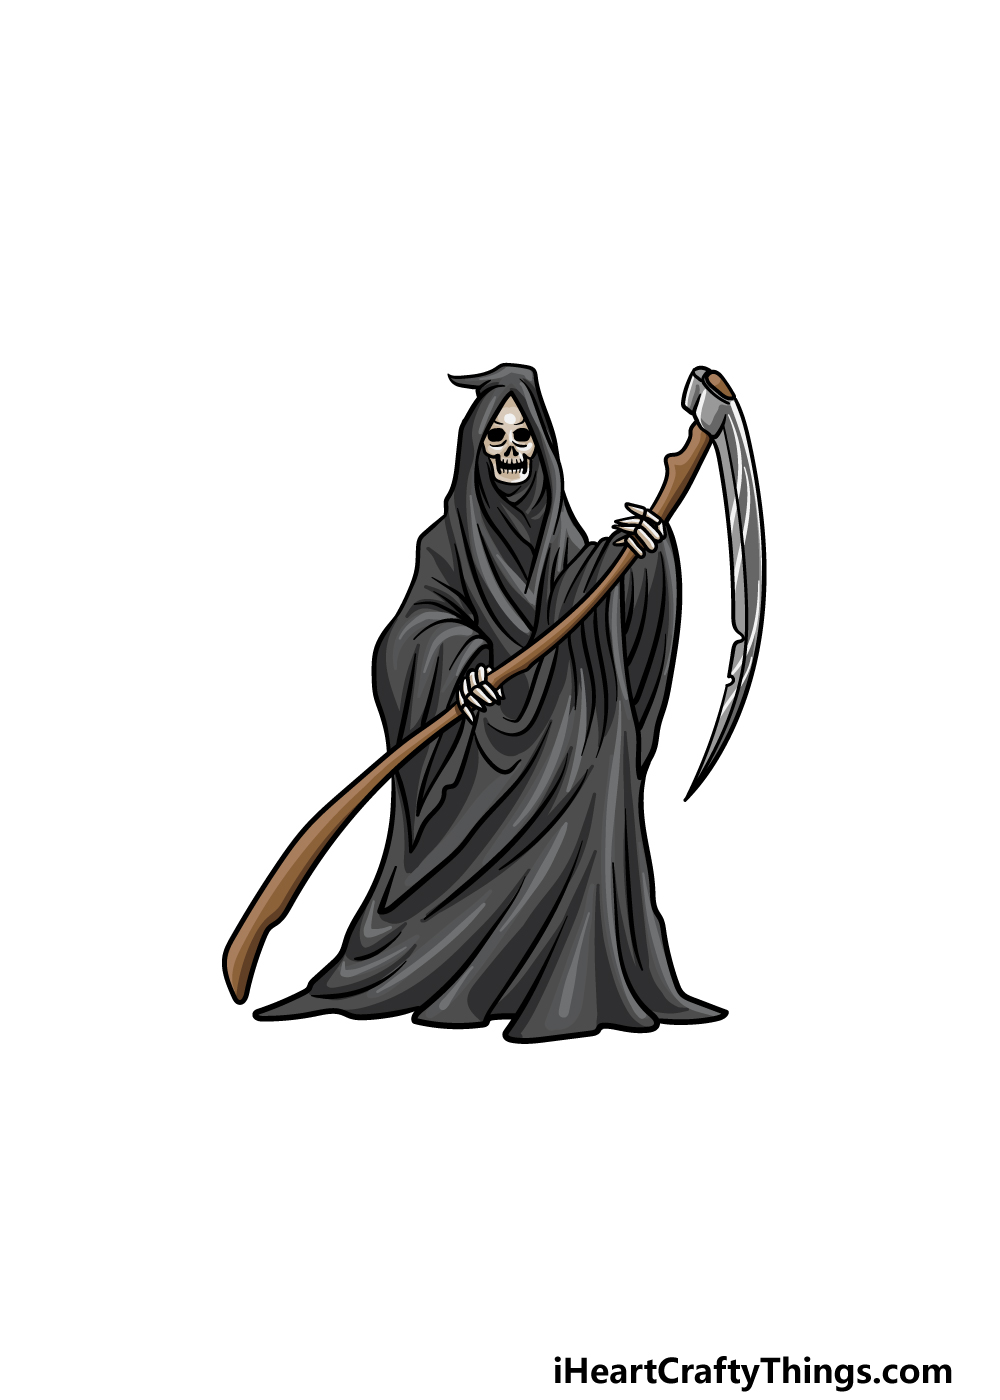
This step of our guide on how to draw the Grim Reaper will be all about finishing it off with color.
We kept the colors quite muted in our reference image, as we kept it to black for his cloak with brown and silver for his scythe. Will you go with these colors or use some color choices of your own?
You can also experiment with some awesome art mediums and tools, so we can't wait to see what you go with!
Your Grim Reaper Drawing is Complete!
We hope that this guide on how to draw the Grim Reaper wasn't too scary or intimidating for you to take on!
Our goal with this guide was to break it down so that it would be fun and easy for you to complete this detailed drawing. Don't forget that you can also add some details, color choices and art mediums of your own!
We also have a website full of awesome drawing guides for you to take on, so be sure to visit often as we upload new ones frequently.
Once your Grim Reaper drawing is finished, we hope that you will share it on our Facebook and Pinterest pages for us to admire!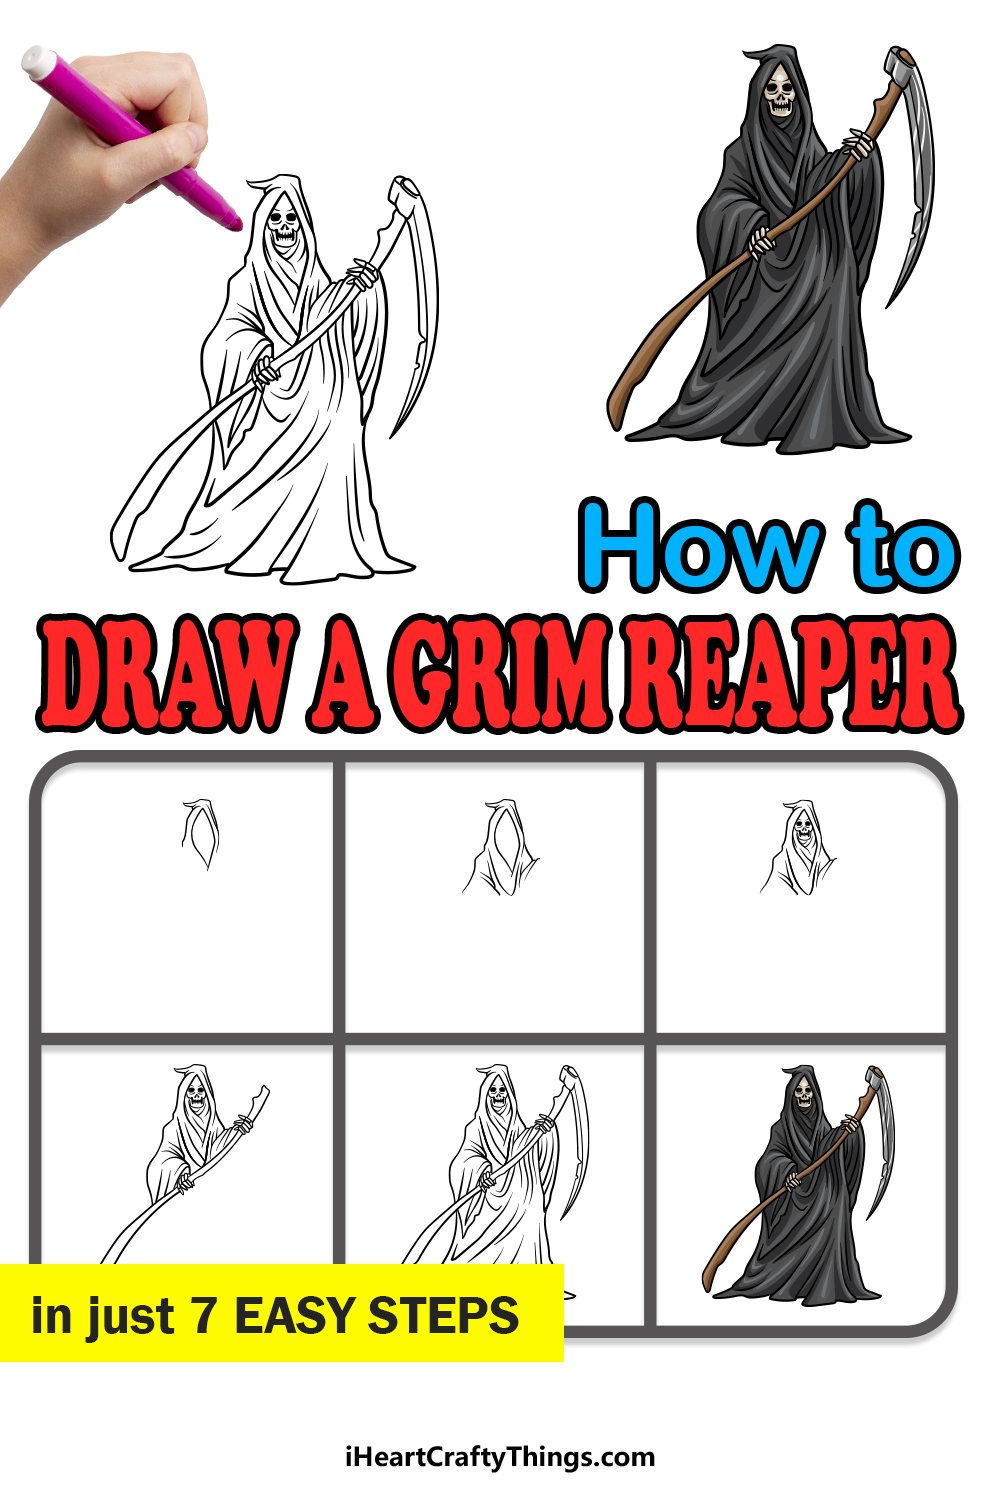
Source: https://iheartcraftythings.com/grim-reaper-drawing.html
0 Response to "How to Draw a Easy Cloaked Person"
Post a Comment